Search This Blog

Monday, February 20, 2012

Gesso, and IOD tape, and dies. Oh My!

Today we're going to play with all sorts of fun products from Ranger! 

First I went ahead and inked a tag with the foam blending tool and the broken china, frayed burlap, and evergreen bough distress inks.


Once I was happy with the look of my tag, I got out my Prima IOD tape.  It comes on a regular looking tape dispenser, but the clear tape has images on it.  This one is the alphabet tape.  I put strips of the alphabet tape on the tag.  The great thing about this tape is that because it is clear, the colors of the ink still show through.


 Next, I got out my Cut-n-Dry stamp pad foam.  This stuff is great for blending ink, for applying paint, for applying gesso, and for tons of other things.  It comes in a whole sheet like this:


But all you need is to cut off a little square like this. One sheet of foam will last you a long time.  I used to use makeup sponges, but these are SO much nicer!


Today, I'm using the foam to apply a light coat of white gesso from Claudine Hellmuth.  The gesso is wonderful to use as a primer before painting, or to use for a distressed look in white, or for just painting something white.


So, I applied a very light coat of the white gesso over the middle of the tag, and brushed it in with the foam.


Next I used one of my favorite Tim Holtz Alteration dies, and cut out this dress form and then inked it with the evergreen bough and brushed corduroy distress inks.


I then used a beautiful blue ribbon from Making Memories that I found in my stash.  I wrapped it around the waist of the dress form and fastened it with one of Tim Holtz's memo pins.


I inked one of Tim's adage tickets in the brushed corduroy and used the memo pin to attach it to the dress form.


I popped the entire dress form up and attached it to the tag to finish the whole thing up, and here is the final product:


Hopefully this will inspire you to make your own creations using some of these techniques.  If you do, I'd love to see what you do!  Patrice and I will be at St Andrews this weekend, where you can show us any of your creations or buy any of the materials we used to make this tag!  Hope to see you there, and thanks for looking!

Friday, February 17, 2012

Make a Flower Friday- Pinwheels

Hey Scrap Fans! I had big plans for today's Make a Flower Friday. I was going to go through all the steps to make a rosette both with and without the Tim Holtz Alterations Die by Sizzix. But that was before I spent the entire day shopping with my mother and five-year-old. So today you'll have to settle for the pinwheel flower. Even though this flower is super simple, it is also super cute and makes a great addition to any scrapbook page or card.


The pinwheels work best if you used double-sided paper or a solid color card stock. Here I am using Vanity Fair by My Mind's Eye from a 6x6 paper stack.


You then cut your paper to a square. I am using a 3x3 square, but you can use any dimension, depending on the size of the pinwheel you would like.
I like to ink the edges of the paper for a more dimensional look. Here I am using Gathered Twigs Distress Ink by Tim Holtz, from the Fall Seasonal Distress Ink set.
After you have inked your edges, you cut from all four corners in toward the center of the paper, leaving about a quarter inch space in the middle.
You then place adhesive in the center of the paper. I think a glue dot works best, but you could use any type of adhesive, depending on how long you have to wait for it to dry. Pick a corner of the page and fold it into the center, sticking it to the adhesive.
Next, you skip the next point and adhere the point after if to the center onto the adhesive.
Continue, skipping the next point and then adhering a third point to the center.
Skip another point and adhere the last point to the center.
Finish it off by adhering a cute button or brad to the center and you have a quick and easy embellishment for a page, mini book or card.


You can add even more dimension by making two pinwheels (without the button or brad in the center of one) and layering them to make an eight point flower.

I hope you enjoyed this quick lesson and you find many uses for this cute little pinwheel flower in your projects. Until next time, Happy Scrappin!

~Patrice

Thursday, February 16, 2012

Save those Scraps!!


Hey scrap fans! Today's post is a video I made of and envelope mini album inspired by Kathy Orta, as well as some projects I completed using the paper scraps left over from the album. Keathe is always giving me a hard time about saving too much, so I thought I'd give you some ideas on how to use all the leftovers from that awesome paper you just love so much. Hope you enjoy and Happy Scrappin!

~Patrice

Wednesday, February 15, 2012

For Love of Distress Stains!

I get that it probably is no secret to most that I love Tim Holtz and all his distress products. After all, he is all about grunge and there are many shades of brown in his color palette. For someone who has admitted to not being about bright, his products bring about a rousing 'Hallelujah Chorus' in my head!

So for this tag, I wanted to showcase one of my favorite new additions to the distress line: Distress Stains! I've been loving playing with these, but realize that there are probably a bunch of people who are wondering why you would need these when you already have all the wonderful distress ink pads? So let's look at just a few of the neat things we can do with these stains!

I'll be using peeled paint, broken china (my fave!), faded jeans, dusty concord, and picket fence (my very close second fave!).


I took each of the first four colors and just dotted them in various places on the tag. No real rhyme or reason to this, just had fun splatting the color all over the tag.


Once the entire tag was covered in color, I took out my water mister, and thoroughly wet the entire tag, letting the colors run together and blend.


I used my heat tool to dry the tag because again I am impatient. But you could just as easily let it air dry.


Here is where the gorgeous picket fence stain comes in; I used it to ink up a background stamp.


I stamped the tag with the background stamp.


Next, I got together some beautiful flowers to embellish the tag with, but the colors were pretty bright for me. One of the other great things about picket fence is how it can tone down bright colors. This works for those bright patterned papers that you want to tone down a notch, or in this case, for our flowers. So I went ahead and misted the flowers with water, and then applied some of the picket fence to them. The water helped to wick out the color.


Glue the flowers together with some glossy accents, add twine and a button, and a few matching ribbons. In no time a beautiful tag to use in a card or on a scrapbook page!


So hopefully that has helped to show off just a few of the ways to use these awesome stains. We will be at St Andrews crop on February 24th and 25th and will have stains available for sale or to give a demonstration if you'd like to see more.

Thanks everybody!

Monday, February 13, 2012

Happy Valentine's Day alcohol ink style!

Hi everybody!

I'm going to tell you one of my deepest, darkest secrets. Are you ready?

(whispering) I don't like pink.

There I've said it! I'm the only woman in the known universe who hates the color pink. In fact, I'm not really into any bright colors. My favored color palette are those colors that people generally find really boring; like brown, dark blues, dark greens, etc. Pretty much any color you'd find in a flannel shirt.

So, as you can imagine, Valentine's Day poses quite a problem for me.

This year, I decided to tone down the usual pinks of the holiday with some reds, purples, and even a bit of brown. It's my version of compromise. :)


So I started with some glossy cardstock from Ranger. I just love alcohol inking! I love that you really can't mess it up, if you don't like the way it looks you just add different color and keep going until you do like it. I love foolproof crafting!


For this card, I used Ranger's shell pink, salmon, wild plum, red poppy, and snow cap.


I put a few drops of each (maybe a little less of the pinky colors) and a generous amount of blending solution on one of Ranger's felt pads. With the blending tool, I just started going crazy all over the piece of glossy cardstock.


Once I was finished, I heated it with a heat tool just because I am impatient. You can let it air dry too. I cut the cardstock down to 4 1/4 by 5 1/4, inked the edges with brushed corduroy distress ink, and put it on a pink card base. (Of course I inked the pink card base edges with the brushed corduroy too). :)


\Next, I inked up one of Tim Holtz's ticket stamps with the new festive berries distress ink and stamped it onto white cardstock. I inked the whole thing with the foam ink tool and brushed corduroy again, and cut the ticket image out.


I used a Viva Decor Pearl Pen in chocolate to freehand a heart onto the card and popped up the ticket into the center of the heart (but make sure to wait for the pearls to dry!).


And voila! A not quite so pink Valentine's Day card that even I am ok with ;)

Thanks for stopping by everybody!

Keathe

Friday, February 10, 2012

Make a flower Friday

One of my favorite things to do lately is to make fabric flowers. There are a number of ways to make them, and they are an easy and pretty way to embellish a page or project.

There are only two materials necessary to make today's flower; a strip of fabric and a large circle of glue (I used a gluber from Cosmo Cricket)

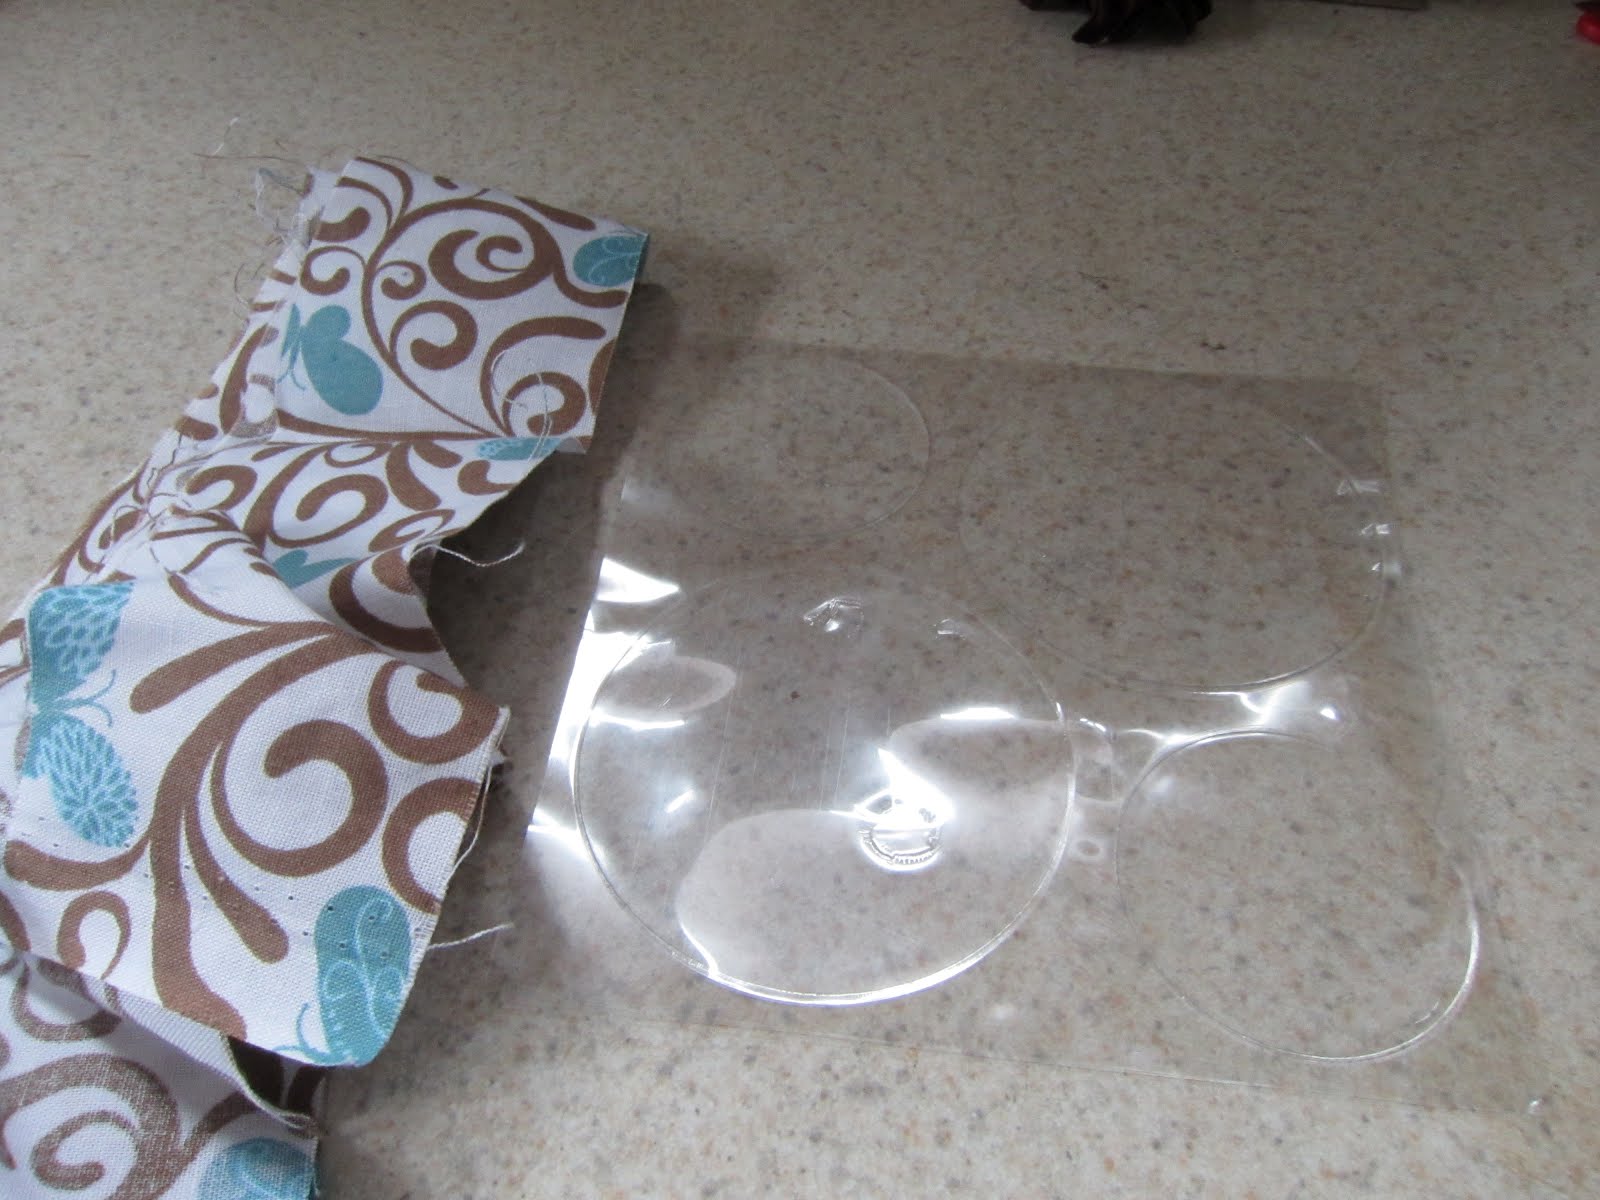
The glubers have a protective plastic sheet over them, you will want to cut away the dot you want to use and then peel off the protective sheet.


First you will want to tie a knot at one end of your fabric, and place it down in the center of your gluber.

Next, you will want to wrap the fabric into a spiral and place it around the knot, leaving no spaces. Keep wrapping the fabric and sticking down onto the gluber.


When you are ready to finish your flower off, tuck the end of the fabric underneath the last row of twisted fabric, and stick down. Cut off your end close to the flower.


To adhere to your project, just trim off any excess glue that wasn't used and peel off the backing of the flower. Stick down to your project and you are done! I used Ranger's Copper Perfect Pearls mist, and Vintage Photo Distress Ink to age my flower a bit, and then used it on this tag:


Everything I used to make this tag is sold by Cropsy Turvy, so let us know if you need any of these materials, or stop by and see us at one of the upcoming crops that we'll have a vendor booth with. Thanks for stopping by!

Keathe

Wednesday, February 8, 2012

Anniversary Canvas Card

Happy Wednesday, Scrap Fans! Today I'd like to share a "canvas card" I made for my parents 38th Wedding Anniversary. Since my mom always saves the cards I make her, I decided to make this one on a 5x7 canvas, to make it easier for her to display. I put a pocket on the back to hold the gift certificate.

I prepped the canvas with Vintage Photo Distress Crackle paint and then touched up the edges with Vintage Photo Distress Ink. I then stamped the "together" definition from the Stampin' Up! "Define Your Life' stamp set in black Archival Ink.


I matted the photo (a pic of my parents walking down the aisle following their ceremony) and adhered it to a photo mat made from a torn pieces of Coredinations card stock in Vintage Photo Distress by Ranger and Tim Holtz. I embossed the card stock with an Alterations Embossing Folder.
The tag was a #8 Manila tag sprayed with Tattered Leather Glimmer Mist by Tattered Angels. I distressed the edges with the Distressing Tool from Tonic and Tim Holtz and then inked the edges with Vintage Photo Distress Ink. I then sprayed some seam binding tape with Glimmer Mist to match the tag and added a piece of brown tulle. I adhered various pieces of ephemera including an Adage Ticket from Tim Holtz and some charms and found items.
I hope you enjoyed this project. Leave a comment to let me know what you would like to see in the future. Until then, Happy Scrapping!
~Patrice

Friday, February 3, 2012

Where Did The Time Go???

Ok, Seriously, I haven't posted since Halloween? Really? I had planned on taking some time off over the holidays, as my family has a business that is very seasonal and keeps me busy in November and December but what the heck happened to January?
I haven't been totally slacking. I did do a couple of make and take classes and I've been working to update my computer system for the upcoming crops as well as drooling over all the new CHA offerings and trying to decide what to add to our product line. So there has been some work getting done, just not the kind that makes for interesting blog posts.
I did, however, attend a one day crop at the Ogle Township building a few weeks ago where I had the chance to work on something just for fun. I went into it not really knowing what I was working on, other than I brought all of my Tim Holtz products and just wanted to experiment a little. The result was this layout, which I titled "time flies" to celebrate my tenth anniversary. I made the tag first, then decided it belonged on a page, so i kept going. I wanted to play with my new Crafter's Workshop templates and Glimmer Mists and the clock theme evolved. I was digging through my stash and came across the grungeboard wings, which brought to mind the old cliche "time flies" reminding me of a conversation my husband and I just had about our upcoming anniversary. Suddenly it was the perfect canvas to honor our ten years together and this page was born.
Hope you enjoyed the page and please stay tuned for more to come. Until then, Happy Scrapping!
~Patrice