Search This Blog

Friday, March 2, 2012

It's Make a Flower Friday!!!!!! (again)

 Today we are going to make some sophisticated looking flowers. We will use some very precise measurements and terminology, so please feel free to ask questions if you need to!

First, you will need a largish piece of satin like material (like I said, we are using very precise terminology here). I am using this square of red. 


Now, you'll want to take your scissors and cut out four or five circles of different sizes. If you have a die cutting machine and a circles die, that would be great for this flower. Alas, I don't have such a die so I am cutting my own circles.


Notice that my circle skills need vast improvement. Luckily for all of us, it doesn't matter at all if they are a little less than perfect. 


Now comes the fun part. Slightly burn the edges of your flowers. They will scorch slightly and when you burn from the bottom the circles will turn up (like flower petals)!


Leaving you with several different sizes of circles like so.


Using glossy accents, I applied a dot of glue to the center of the largest circle, and layered my circles upon each other.


When you have finished layering your circles, add a cute button or charm to the center for added interest. I used a Prima flower center.


And when you are done you have a nice little flower.


Thanks for looking, everybody!

Keathe

Thursday, March 1, 2012

Some People Wear Their Heart on Their Sleeve, I Wear My Passion Around My Neck

Hey Scrap Fans! Keathe and I shot a video today demonstrating the new Distress Markers by Tim Holtz, but it still needs a lot of editing, and since tomorrow is Make a Flower Friday, you'll have to wait until Monday. But trust me, it will be worth the wait. ;0)

Today I'd like to share with you a piece of wearable art I created. I was inspired by a necklace I saw a friend of mine wearing that she said she bought on Etsy. It was a chain with three of the sprocket gears by Tim Holtz held together with jump rings. Since I love all things Tim Holtz, and I also love jewelry, especially necklaces, I decided to make one of my own. Here is what I came up with:

I like my necklaces to hang a little longer, so I fashioned this one long enough to slip over my head, so I didn't need a closure, but you could just as easily add a lobster claw or toggle closure. I love the steampunky look of the sprocket gears mixed with the romantic look of the key hole and key.
I used the Tim Holtz Swivel Clasps and actually removed the clasp part to attach two of the smaller sprocket gears to either side of a larger gear. I used small game spinners fastened with brads on the smaller two gears.
I used a larger game spinner and a small gear on the larger gear and fastened them both with a brad.

I used another piece of chain from a hinge clip with the hinge removed to attach a keyhole.
I didn't have any of the super awesome word keys, but I did have this fun key charm from Industrial Chic by Susan Lenart Kazmer that I found on clearance. Another one of those just-in-case-I-need-it-someday buys that paid off!The whole thing hangs from a length of chain from Lost and Found that I picked up on clearance as well.

I hoped you enjoyed this quick look at my new necklace and are inspired to do something fun with some of the extra embellishments in your stash. If you come up with something cool, send us a pic so we can share in your creativity. Until next time, Happy Scrappin'!

~Patrice

Wednesday, February 29, 2012

If at first you don't succeed, just keep adding stuff!

 One of the problems I run into most often while teaching others is when folks make what they view as 'mistakes'. I am a big believer that all mistakes really just add to art. 'There are no mistakes, just opportunities for creativity.' is a phrase I use at least once during every workshop I teach. So today, I thought I'd show everybody just what happens when I make a mistake.

I started this tag by inking the entire thing with spiced marmalade using the foam blending tool.


I have this new stamp set that I've been itching to use called 'Word Pops' by Hero Arts. I put Ranger's embossing ink all over the stamp and stamped the image onto my tag.


I added white detail embossing powder to the tag.


I heat embossed the powder, and started to realize my mistake...


Distress ink tends to take longer to dry than other inks (this way you can blend it, or even emboss with it better than you can other inks), so when I added the embossing powder, it stuck to a few places other than the stamped images where I intended it.

I inked blue over the entire tag, and the embossed areas resisted the ink. As you can see, the images of the dots aren't as crisp as I envisioned them.  So I decided to keep plugging away and to find another way to use the tag.


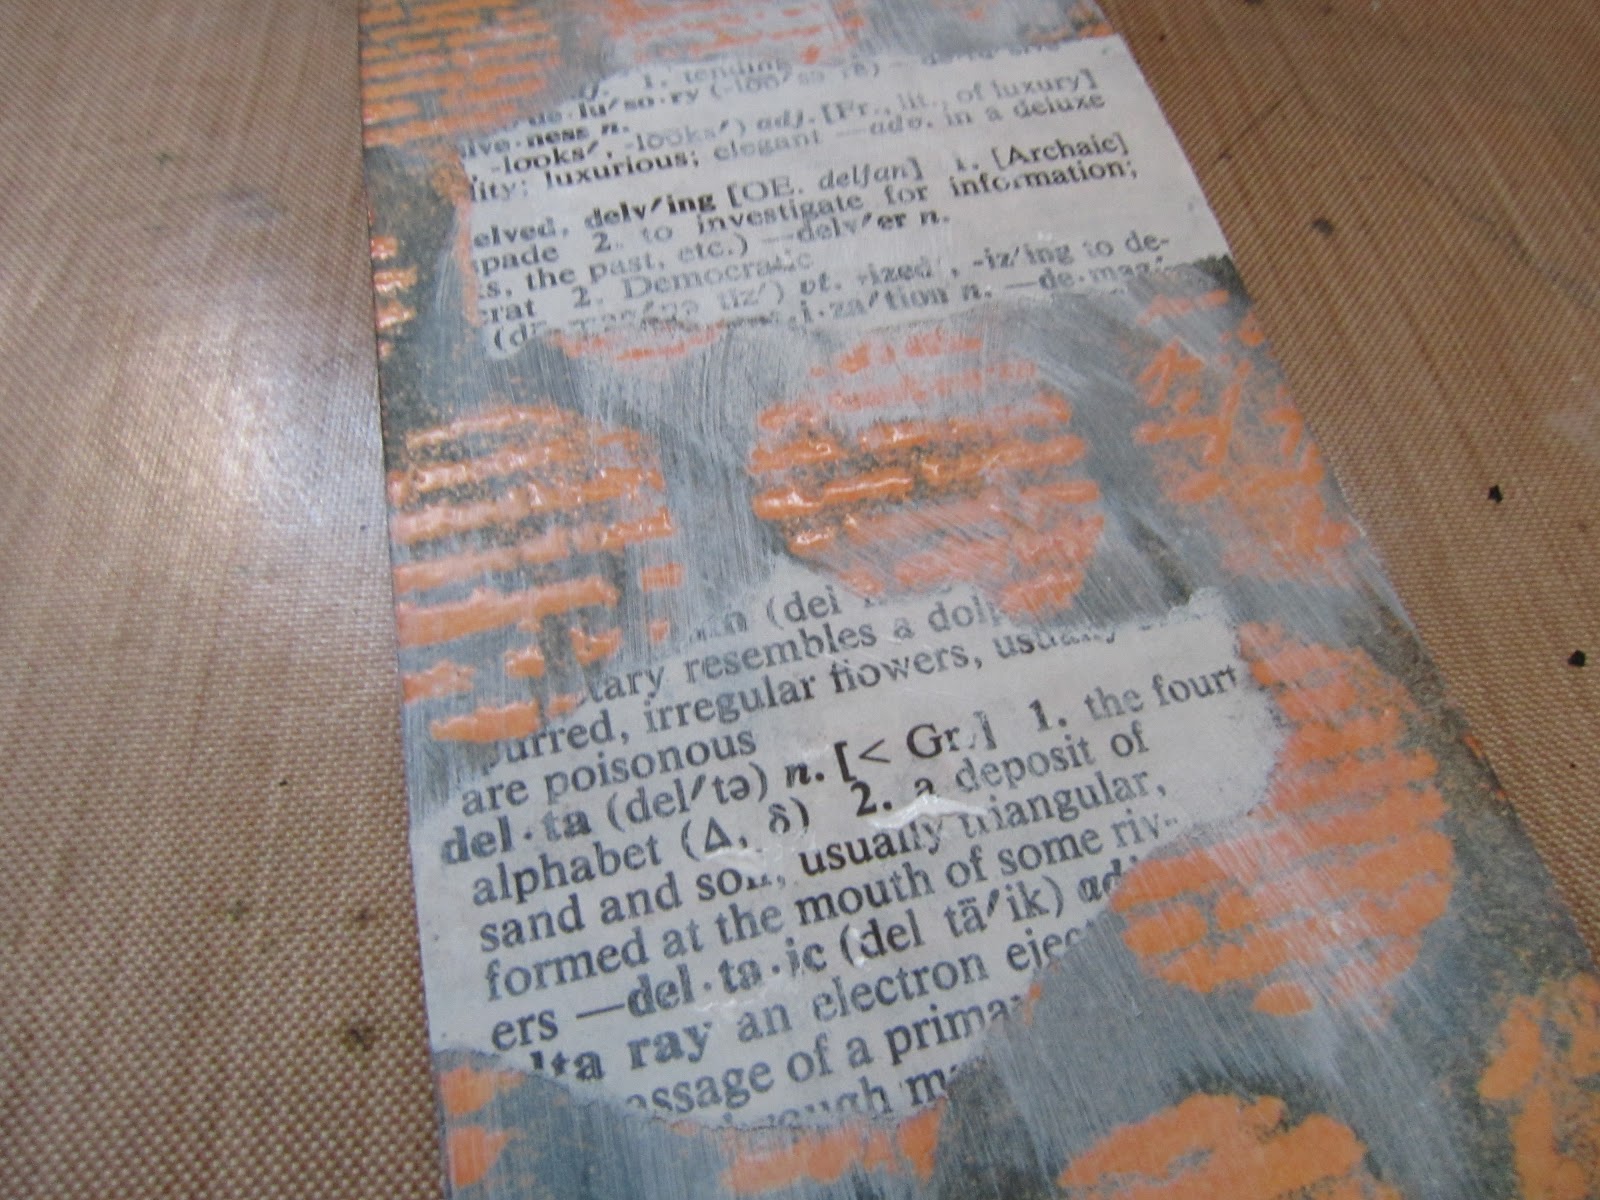
I took an actual sheet of dictionary paper ripped out of Patrice's dictionary (my own dictionary is holding up my husband's bookshelf in his office - it's a long story).


 I tore a small piece off of the paper.


I used some glue and seal by Ranger on the back of my dictionary paper and adhered it to the tag. Glue and Seal is like a Mod Podge, but we at Cropsy Turvy like it a whole lot better (it goes on a lot less clumpy in my opinion).


Once, the dictionary paper was adhered to my tags, I got out another of my favorite Ranger items...


Love the gesso! I'm using it in white here for a white washed look to my project, but it also comes in black. It can be used as a primer as well.


So with a little piece of cut n dry foam, I applied a very light coat of the gesso over the edges of my dictionary paper, and blended it into the rest of the tag.


Next, I took some vintage photo distress ink, and blended it all over the dictionary paper.


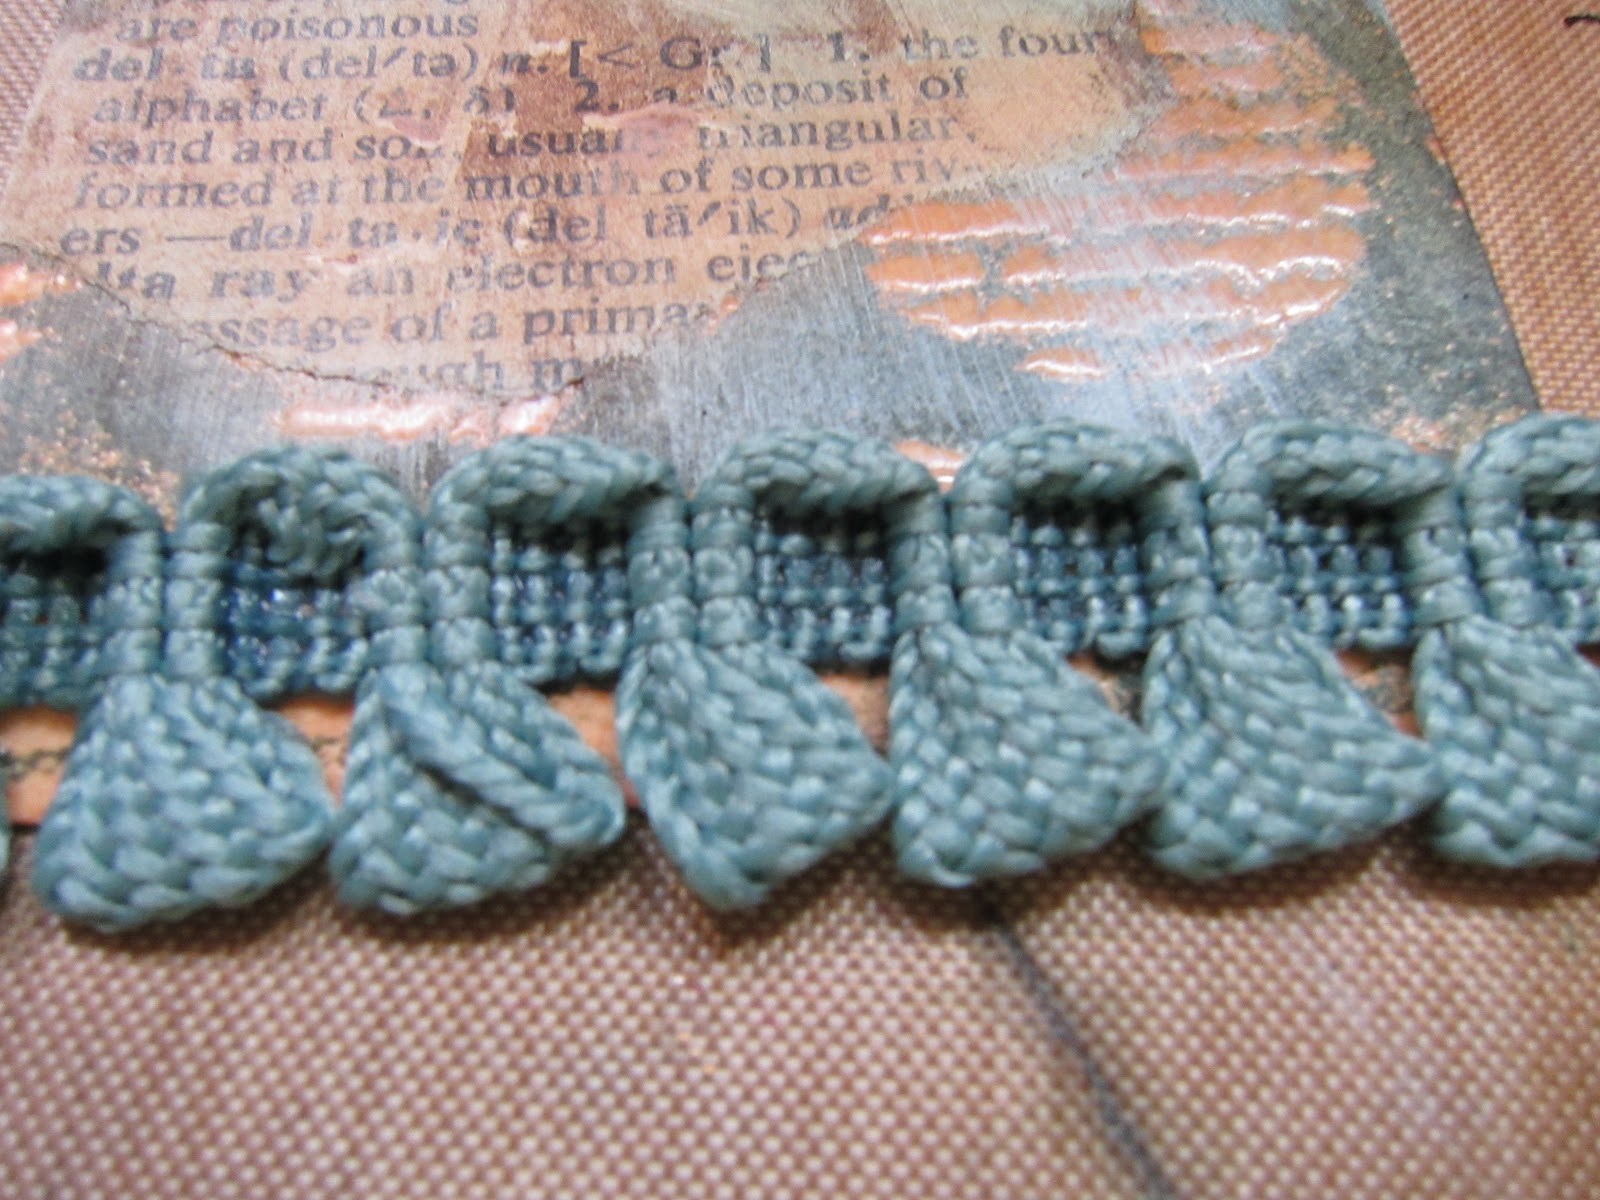
I found a piece of ribbon that I wanted to put along the bottom of the tag, so I applied a thin line of glossy accents to the bottom.


And put the ribbon down.  I wanted to grunge it up just a tad (and I wanted to be sure it wasn't going anywhere when I trimmed the edges off).


So I used my tiny attacher, and put some little staples onto the edges of the ribbon, and trimmed off the excess.


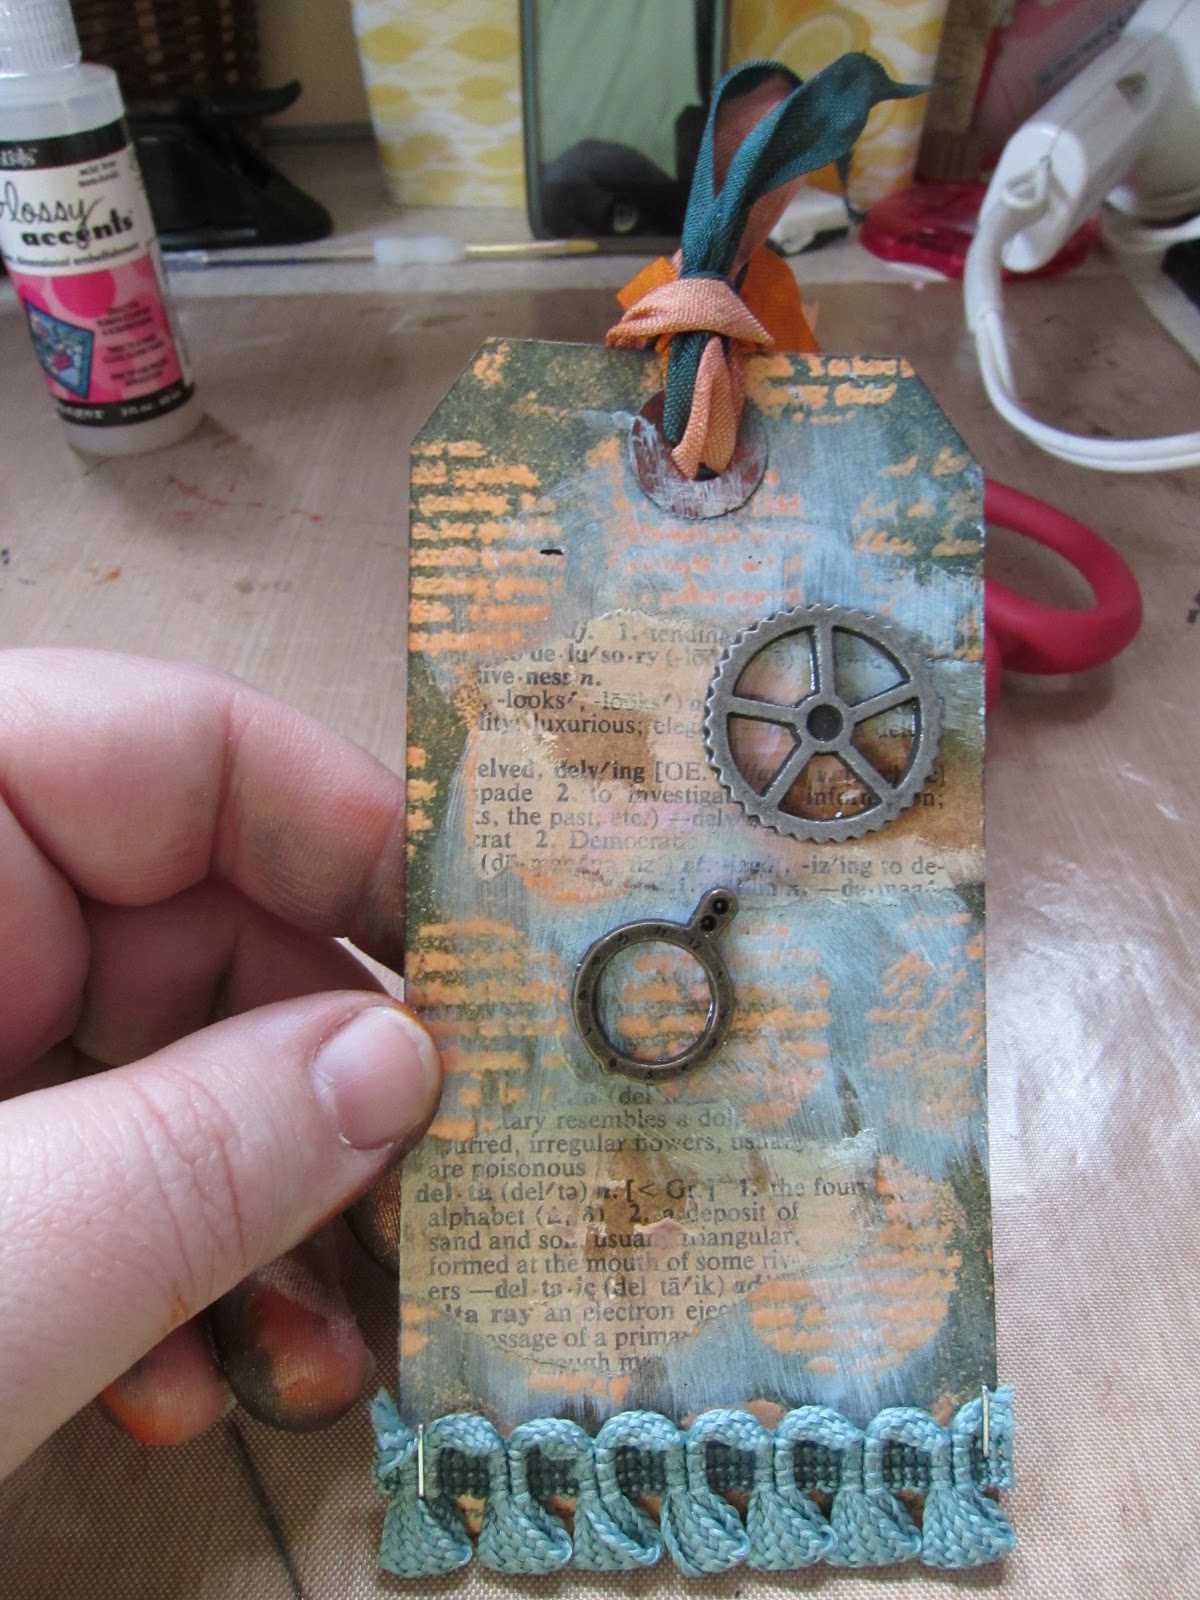
I took a few of Tim Holtz's sprockets and added them with glossy accents to the tag. For ribbons, I went ahead and created my own using seam binding and tattered angels again (because as we all know, I am too lazy to look for matching ribbons).


Here is the finished project. I ended up liking it a lot, even though it wasn't remotely what I was thinking of when I started. Sometimes that is the best part of this craft though! I'm sure I will go back and try to perfect the emboss resist that I wanted to do in the first place, but for now I have an another project to add to my growing stash.


Do you have a project that didn't end up the way you envisioned it? We'd love to see your happy accidents! Share them with us and we'll post them on the blog to inspire others!

Thanks for looking everybody!

Keathe

Tuesday, February 28, 2012

Matchbook Mini Album Written Tutorial

Hey Scrap Fans! I promise you I would post a written tutorial for the match book mini album we did as a make and take at St. Andrew's this weekend. Thanks to all of you who took the class, I hope you enjoyed it and I hope you find many uses for this fun little album!
This was the album I used as an example. I left it unfinished, but there are sooooo many ways you could embellish this cover.

Ok....let's get started......

Starting with a sheet of 12x12 card stock, score at 4" and 8".

Rotate card stock 90 degrees and make the following sets of score lines:
2- 3/8" and 2-5/8"
5-5/8" and 5-7/8"
8-7/8" and 9"
These score marks are creating the spines of the mini album that give the papers room to fold up and lay flat. The first two sets of scores create 1/4" spines and the third a 1/8" spine.

The blocks at the top of the page are going to be smaller than the others. (2-5/8" tall as opposed to 3") This is where you will create the flap closure of your album by removing the left and right blocks and leaving the center.
Cut on the second score lines (where you scored at 2-5/8" on both sides stopping at the 4" and 8" score marks. This leaves only the center block, which will be your flap.
Using a craft knife and a ruler, cut on all of the score lines, stopping at the 4" and 8" score marks on either side. (you could use scissors, but I find a craft knife to be much easier to make these cuts) Remove the cut pieces to create the flaps of the album.

When you are all through cutting, your page should look like this.

Next you are going to create the pockets on your album but cutting three of the flaps in half on alternating sides. The flaps are 4", so you will want to remove 2" with scissors or a paper trimmer.

Put aside the remaining paper you trimmed off, as you will use this later to create your hinges.

In order to make it easier to embellish your pockets, you should place your patterned paper before adhering your pockets. Cut your pattern paper to 2x3" and adhere to all three pockets.

Use a 1" circle punch to punch about half way down on each pocket, creating an indent to make removal of the items placed in the pockets easier.

Next, take two of the three leftover pieces you removed from your pockets and cut them in thirds creating three pieces approximately 2"x1". They don't need to be exactly 1", they only have to be the same height of your pockets. Fold them in half, creating hinges for your pockets.

Place double-sided tape on both sides of the hinges and adhere the hinges along both edges of the pocket alining the fold of the hinge with the edge of the pocket.

Remove the double sided tape.

Fold over pocket and stick down.

Place pattern paper mat inside the pocket, making sure to place it over the hinges on the inside. This will ensure anything you place in the pocket will not encounter any obstructions.

Continue to embellish your album by placing mats on all parts of the album.

Use a border punch to punch a decorative edge on the flap closure if desired.

And of course, ink the edges of your project with Tim Holtz Distress Ink in whatever color matches your project.

I hope this written tutorial helps you to recreate this album. For those of you who attended the St. Andrew's Crop this weekend, I'm working on the pdf file I promise you, so keep an eye on your inbox, as I will try to have it done by the end of the week. I'm also working on the website to allow registration of the upcoming class online, so keep an eye on that too. Thanks for all of your support, and until next time, Happy Scrappin'!!

~Patrice