

In honor of Halloween (and to play with some of my awesome Ranger products) I created this spooky tag decoration.
I started with a 6X12 piece of heavy weight card stock and cut the top edge with the Tim Holtz Alterations One the Edge Plaque & Postage die.
 I then coated the entire piece with Tim Holtz Distress Crackle Paint in Picket Fence. Once it was dry, I inked the entire tag with Tim Holtz Distress Ink in Dusty Concord and the edges in Black Soot.
  I used the Tim Holtz Alterations Embossing Folders to emboss a spider web on the tag and then rubbed over it in Silver Rub and Buff. I used two other Alterations Embossing folders, cut out the images, and used the same techniques as I did on the tag and then rubbed Silver Rub and Buff over the raised images.
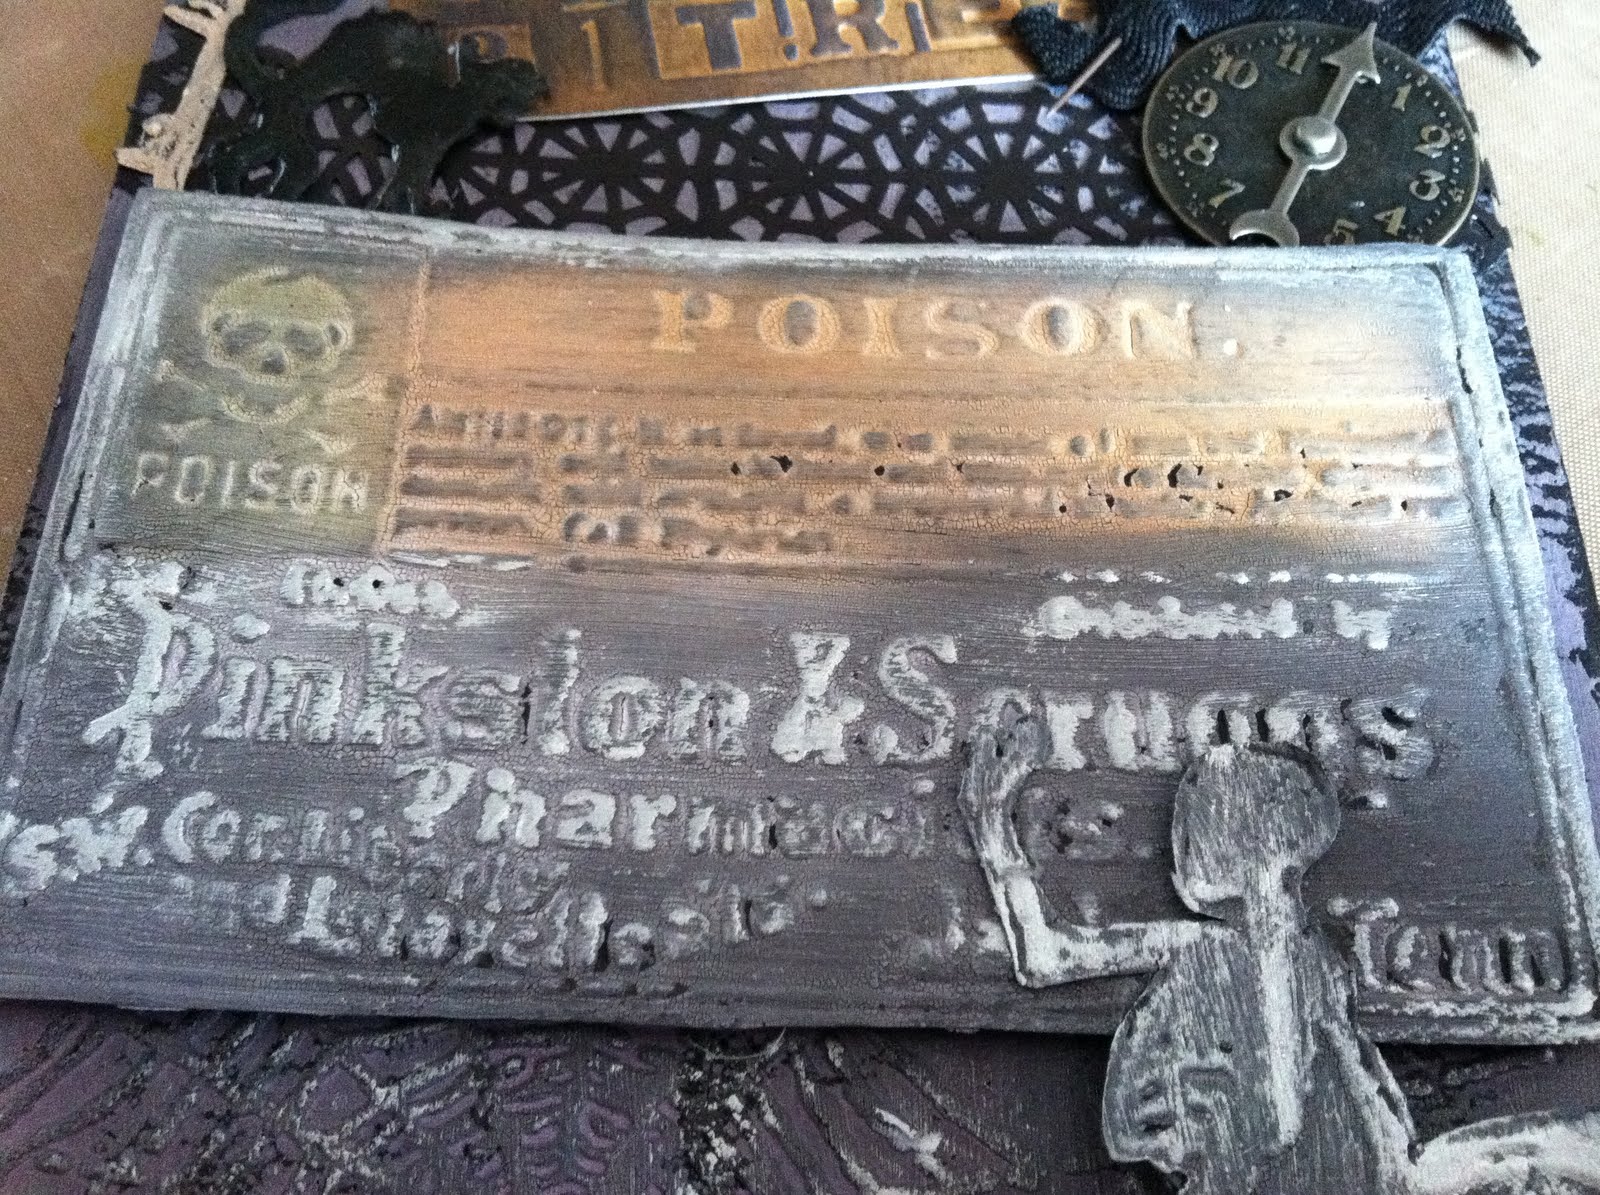 I decorated with various other adornments, including some ephemera from the Tim Holtz Ideology collection and a spider web border punched from a Martha Stewart border punch.
I used some Glossy accents to attach a piece of chain to the tag. I used Enamel Accents to coat the cat and I punched holes and placed eyelets and hung a chain with jump rings.

I hope you enjoyed these techniques. If you would like to learn more, you can contact us to schedule a class at info@cropsyturvy.com. Until next time, Happy Scrapping!
~Patrice


