Hey Scrap Fans! It's July 2nd already and summer is in full swing. I'm still plugging away at my 100 layout goal, although I did more photo organizing in June than actual 12x12 layouts. I've also been working to organize my scrap room to better fit the way I work. It's been a process, but I'm gradually getting it the way I want it.
My latest project was organizing my paper stash. I have vowed to limit myself to keep only the amount of paper that fits in a milk crate sized container. If I start to get too much, I have to weed out what I'm not going to use. This method has worked to keep my paper stash somewhat under control.
I was storing my paper in a storage ottoman under my desk, but it often became the landing place for other stuff (including my feet) and I found it difficult to pull out and open when I needed paper. I wanted something shallow and on wheels so I could move it around and easily access my paper. I ended up with the open organizer cube by Recollections on the tray with casters. It's the perfect size and mobility for my paper stash.
In order to keep my paper stash to my limit, I had to go through some of my paper pads and determine what I loved and what I knew I would never use. If a pad had multiples, nine times out of ten I kept one and got rid of one. I separated all the pads and stored the papers in plastic paper keepers by Cropper Hopper and I labeled them by manufacturer.
When I was all done, I had the pad cover from the Dear Lizzy Daydreamer collection and it was just too cute to throw away.
I have been taking May Flaum's Camp Scrap class and she was talking about grid designs and the pattern paper samples on this paper pad cover reminded me of a grid design. So rather than discard it, I cut out the parts I knew I could use and went to work. What resulted was this layout:
I cut out the middle 16 grids and put the rest aside for another project. I sprinkled some pink Heidi Swapp Color Shine on a sheet of white Studio Calico Cardstock and adhered my grid to the center. I printed six 2x2 square photos from a trip to the roller rink on my Canon Selphy. At first I was going to mount them directly over the squares of pattern, but it was much too busy, and the pictures got lost. So I cut a 4x6 piece from Amy Tan's Yes, Please collection and mounted the photos. I printed my journaling and mounted it on a piece of 2x4 pink pattern paper.
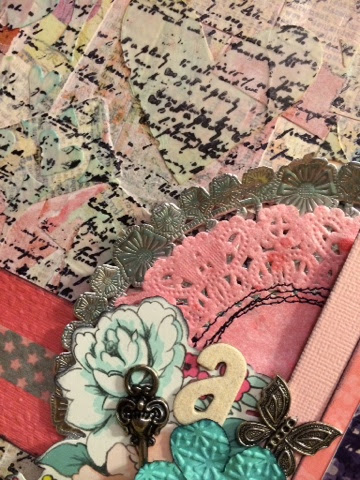
I used the top three grids for my title, and used my Silhoutte Cameo to cut and piece a roller skate embellishment in the upper left. I used pink glitter on the skate toe and bow to create a visual triangle of pink with the skate, title and asterisk in the lower left corner. My letter stickers are from Webster's Pages, October Afternoon and American Crafts Thickers.
I'm pretty happy with how this layout turned out. I still have some blocks of pattern left from the cover, plus all the pattern paper to work with. I hope you enjoyed this layout, and I hope you've been inspired to use some packaging or paper pad covers instead of throwing them out. Until next time, Happy Scrappin'!!