
I started this tag by inking the entire thing with spiced marmalade using the foam blending tool.

I have this new stamp set that I've been itching to use called 'Word Pops' by Hero Arts. I put Ranger's embossing ink all over the stamp and stamped the image onto my tag.

I added white detail embossing powder to the tag.

I heat embossed the powder, and started to realize my mistake...

Distress ink tends to take longer to dry than other inks (this way you can blend it, or even emboss with it better than you can other inks), so when I added the embossing powder, it stuck to a few places other than the stamped images where I intended it.
I inked blue over the entire tag, and the embossed areas resisted the ink. As you can see, the images of the dots aren't as crisp as I envisioned them. So I decided to keep plugging away and to find another way to use the tag.

I took an actual sheet of dictionary paper ripped out of Patrice's dictionary (my own dictionary is holding up my husband's bookshelf in his office - it's a long story).

I tore a small piece off of the paper.

I used some glue and seal by Ranger on the back of my dictionary paper and adhered it to the tag. Glue and Seal is like a Mod Podge, but we at Cropsy Turvy like it a whole lot better (it goes on a lot less clumpy in my opinion).


Once, the dictionary paper was adhered to my tags, I got out another of my favorite Ranger items...

Love the gesso! I'm using it in white here for a white washed look to my project, but it also comes in black. It can be used as a primer as well.

So with a little piece of cut n dry foam, I applied a very light coat of the gesso over the edges of my dictionary paper, and blended it into the rest of the tag.

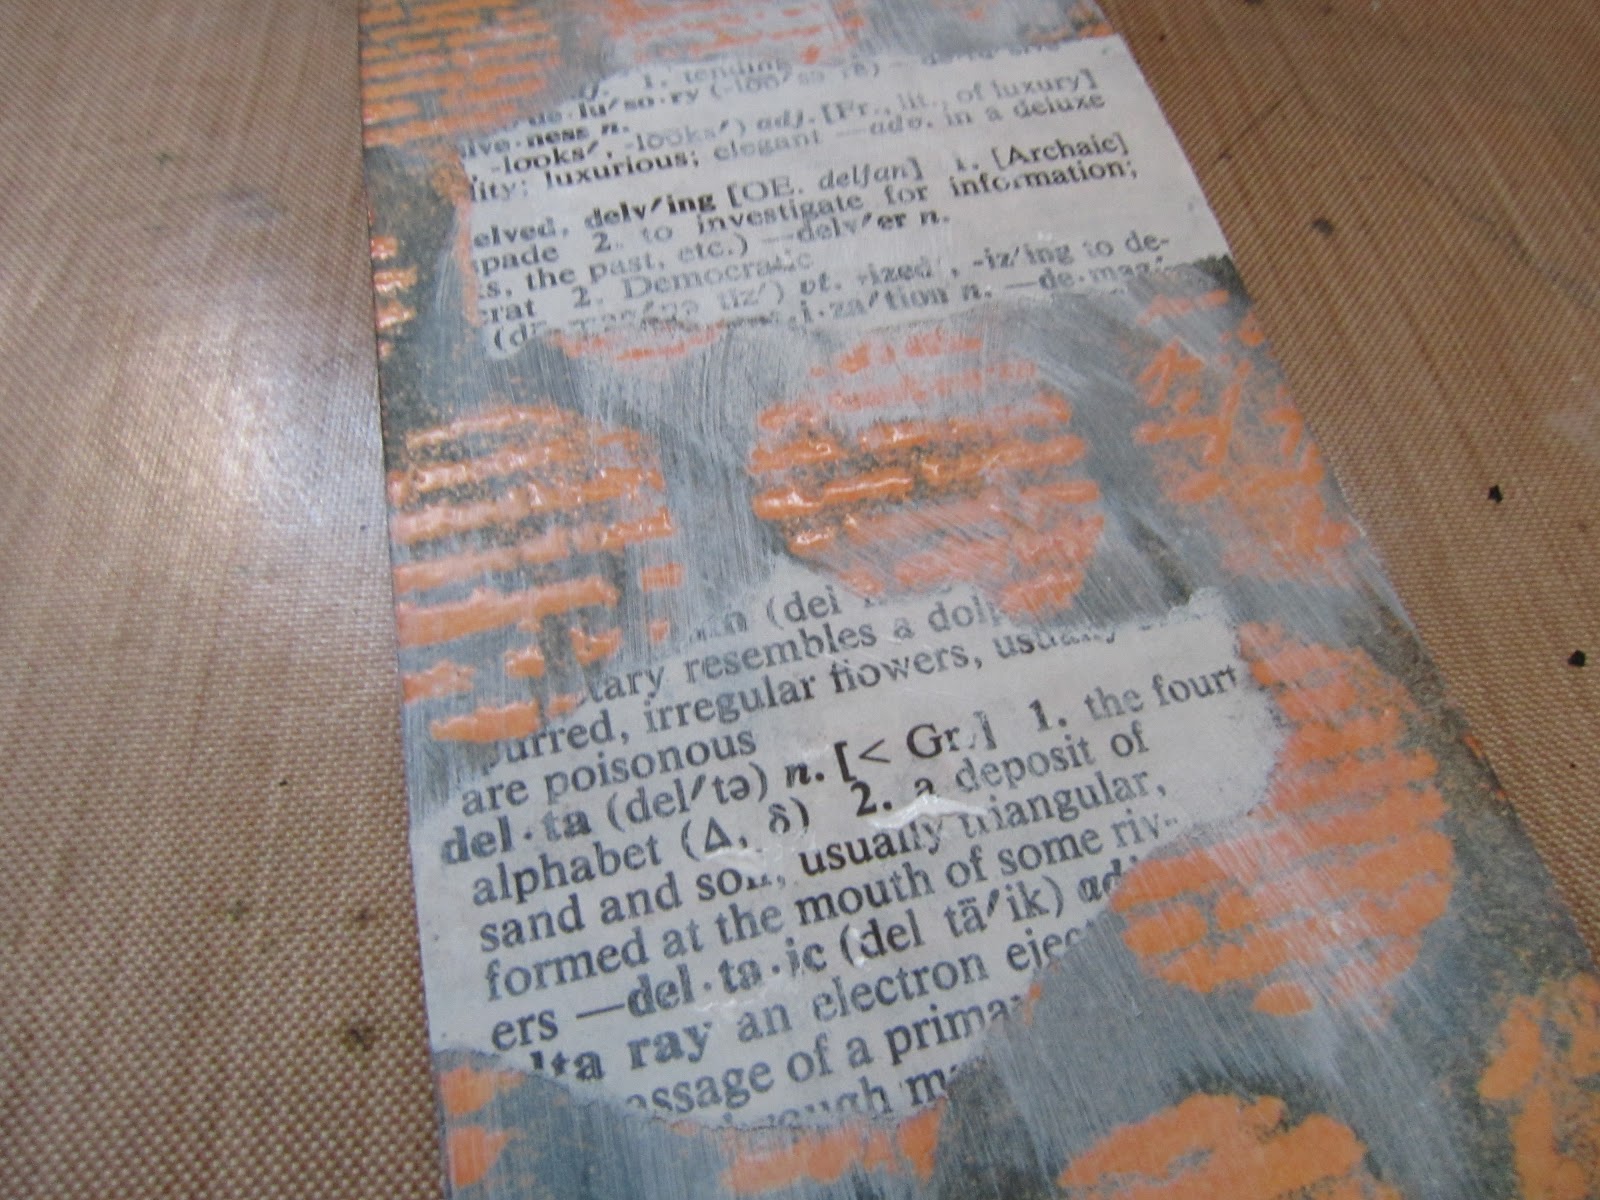
Next, I took some vintage photo distress ink, and blended it all over the dictionary paper.


I found a piece of ribbon that I wanted to put along the bottom of the tag, so I applied a thin line of glossy accents to the bottom.

And put the ribbon down. I wanted to grunge it up just a tad (and I wanted to be sure it wasn't going anywhere when I trimmed the edges off).
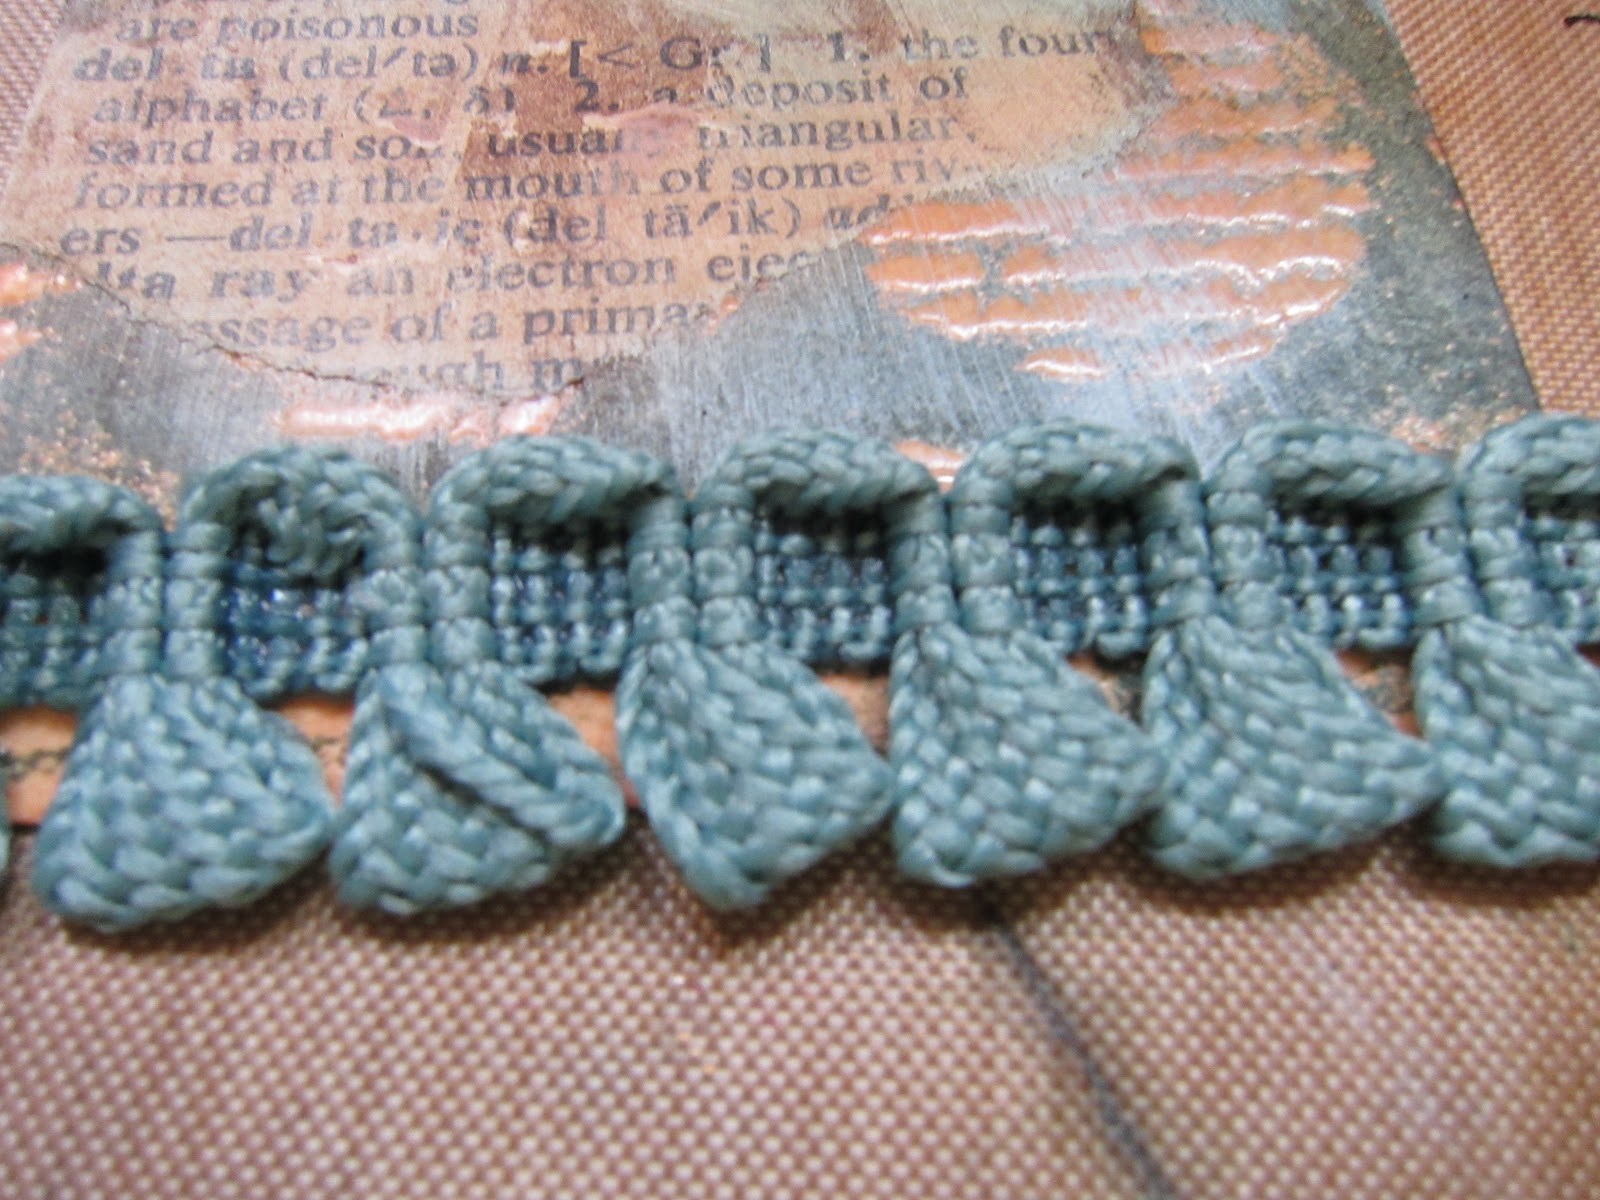
So I used my tiny attacher, and put some little staples onto the edges of the ribbon, and trimmed off the excess.

I took a few of Tim Holtz's sprockets and added them with glossy accents to the tag. For ribbons, I went ahead and created my own using seam binding and tattered angels again (because as we all know, I am too lazy to look for matching ribbons).

Here is the finished project. I ended up liking it a lot, even though it wasn't remotely what I was thinking of when I started. Sometimes that is the best part of this craft though! I'm sure I will go back and try to perfect the emboss resist that I wanted to do in the first place, but for now I have an another project to add to my growing stash.

Do you have a project that didn't end up the way you envisioned it? We'd love to see your happy accidents! Share them with us and we'll post them on the blog to inspire others!
Thanks for looking everybody!
Keathe
No comments:
Post a Comment